Powered By Blogger
Showing posts with label wrap dress. Show all posts

29 April 2019

Formal wrap dress with knit fabric


With a last minute scramble, I have to find a suitable outfit for a wedding that is less than a week away. My preference is to make it of course, also because all the stunning dresses I've seen in stores are in different shades of brown. Igg. Unfortunately the browns and yellows in the winter colors don't work with my complexion very well.

I've decided on a lengthy wrap dress, in a woven knit fabric and went to a local fabric store in search of something suitable and found a stunning knit fabric (below), that I think will do the trick.

There are tiny gold flecks in the fabric and the colors are perfect! And I can pair the dress with a formal dark green coat on the night.


So, now for the dress pattern. I would like to do a longer wrap dress this time, with raglan sleeves and couldn't find such a pattern so I had to settle on a course of 'franken-pattern'.
Wrap Dress Burda 10/2011

Wrap dress Burda 4/2015

First, I traced the top pieces from the April 2015- model and then the skirt pieces of the Oct 2011-model, both in size 40. No need even to draft a new pattern, just cut out the pieces and sew together. I did do a quick check to make sure the skirt and top pieces match up at the waist widths.

Then on to the construction of the dress. I normally like to start with the overlocker to neaten all the edges. Next step is stitching of darts


At this point, the bust darts are completed on the front and back pieces, following with the shoulder seams. The facings are then stitched together at the should seams and attached to the neck line of the dress.
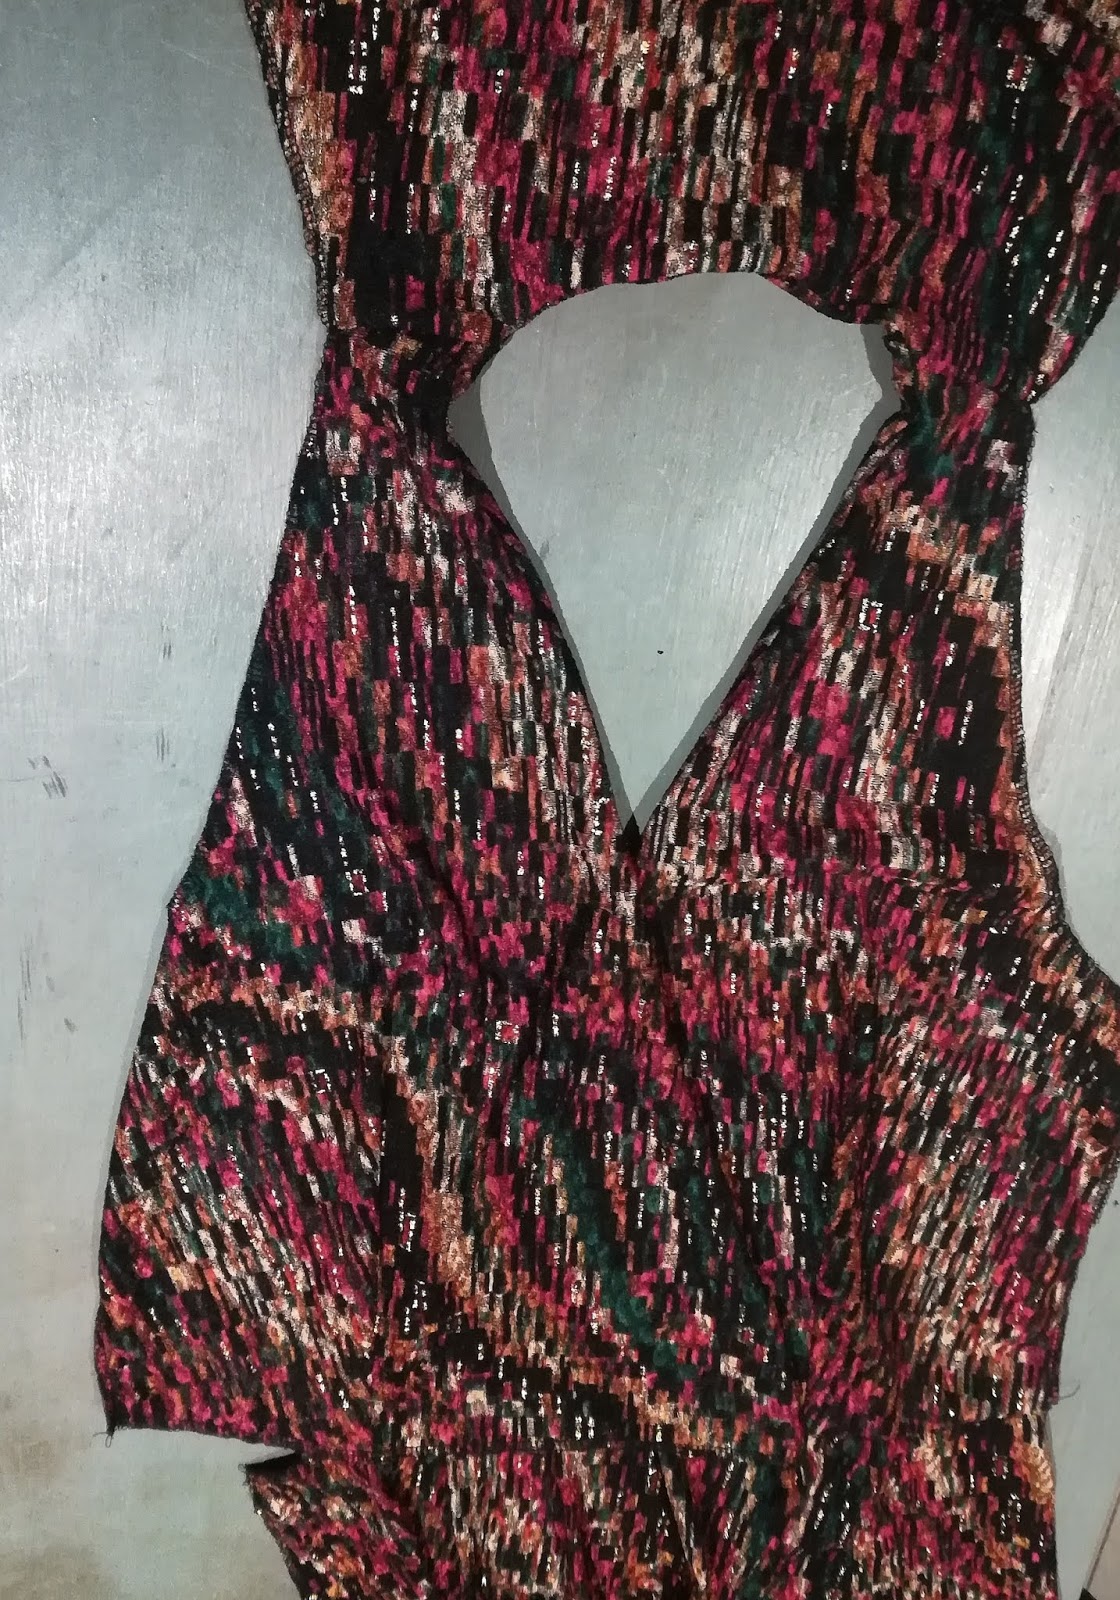


Here are the 2 sleeves lay out flat. By merging the 2 pattern pieces together I only had to stitch the curved shoulder dart.


And here is the dress, completed and pressed, hanging on the dress-form. It fits perfectly over the bust and neck and the waist closure is also very comfortable.


The dress is a bit long as I added a few cm's to the bottom seam and now the skirts ends up feeling heavy, so I might decide to shorted a bit at a later stage, but for now I like the longer length and will keep it this way.


And here is a photo of me wearing the dress to a party this past weekend. Actually, now that I've worn it again and had a good look at it in the daytime, I think I'm ok with the length as it is!
So, now I can work on some of my unfinished projects that are waiting for my attention... I did manage to make a few Barbie outfits this weekend. Those quick, spur of the moment projects are always the best!

11 April 2019

Wrap dress sporting flutter sleeves in bubble chiffon


This weekend I was very busy with the construction of a dress for a client. She needed a new outfit for a friend's wedding that is coming up soon.

So let's start with the design - a wrap dress with diagonal darts in the bodice, waist ties and flutter sleeves. My client just loved the darts in this design, as it creates a very flattering drape across the bust area. 
The fabric is a soft woven print, called bubble chiffon but I've seen it named bubble crepe as well, depending on the weight and of the fabric. It is so pretty and lovely to handle. The bubble in the fabric allows for a slight 2-way stretch, and makes it easy to work with and also to wear. I will definitely consider it for a future project if I come across it again!

The picture below was taken after the neckline facings and shoulder seams were done, because I wanted to see how the pleats look like on the model.


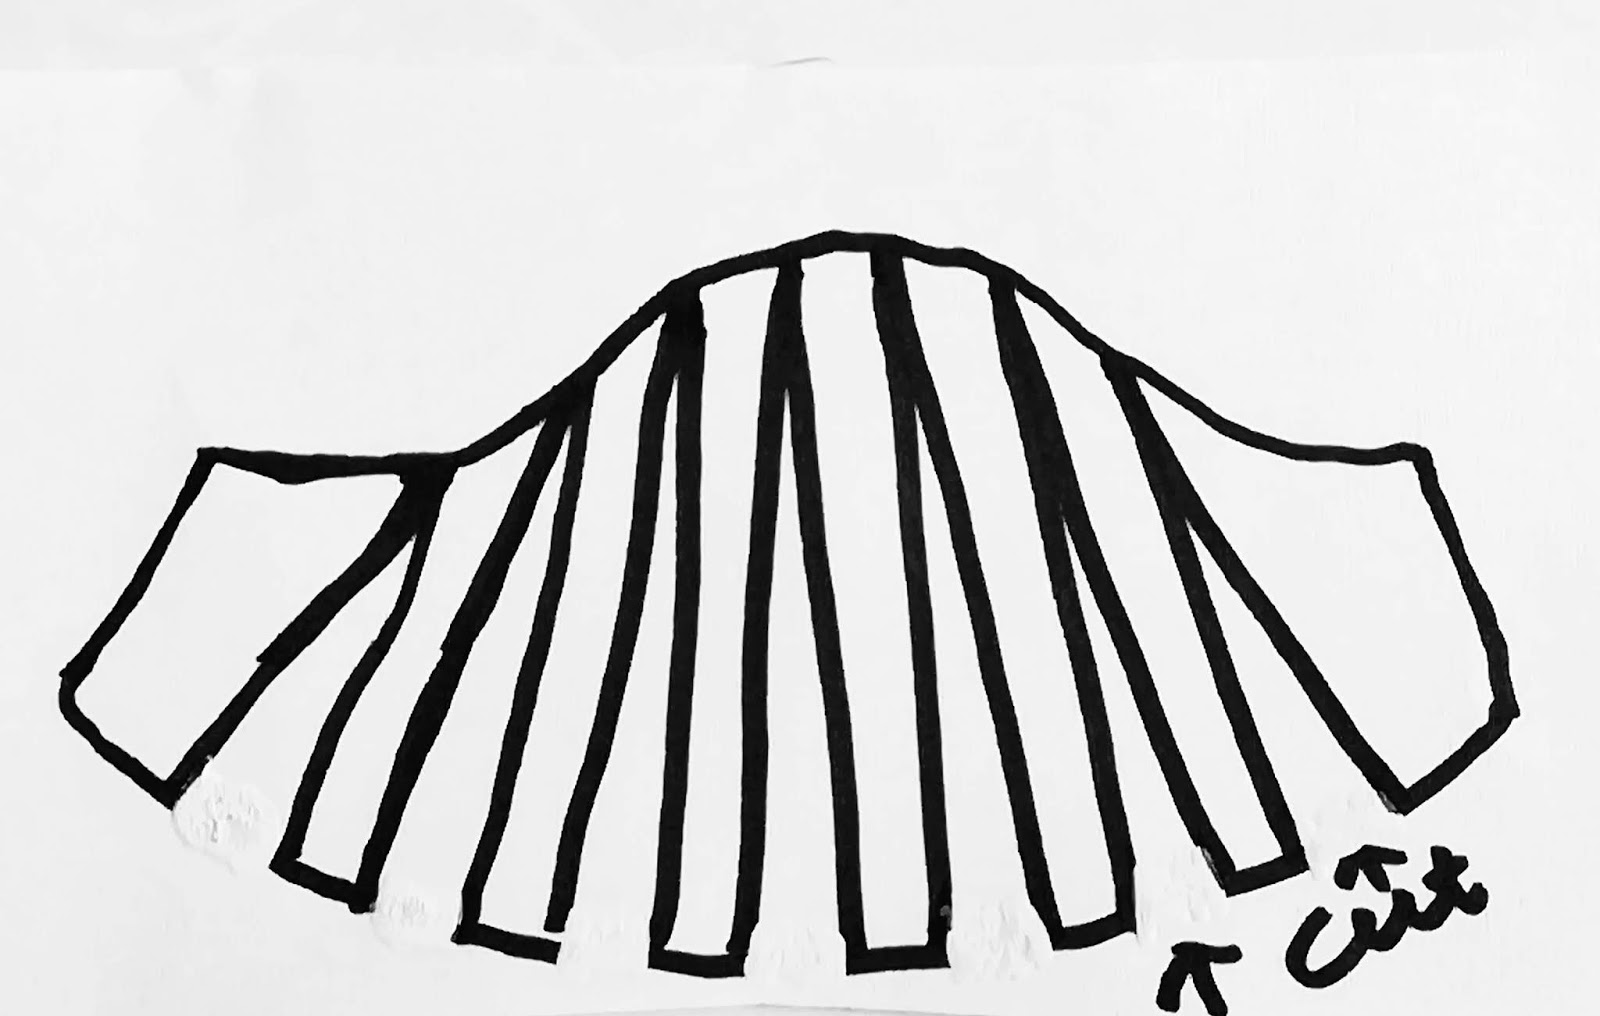
Then I added the self-drawn flutter sleeves and for anyone still wondering, I've included a quick draft and picture thereof below on how to draw a new pattern for a flutter sleeve on the fly.

Start off with the original sleeve pattern, and cut vertical lines from the hem to almost at the sleeve cap. Then spread the pieces apart to make the pattern wider and fuller at the bottom.

You can adjust and spread the pieces to add as much flare as you want.
The final shape of the pattern will look a little funny, that's perfectly fine. So now you have more fullness at the bottom, but no gathering or poofiness at the cap of the sleeve.

The sleeve were an elegant solution and suits the dress in this case perfectly, adding to the summer feel of the dress. 

She promised me a final photo with her wearing the dress and I will post once I get it.

Quick update of the post:

And here she is!! The dress is a perfect fit and she looks very happy with it. Here she is posing for a little picture, before going in to her friend's wedding. 


27 February 2019

Follow up on the Silk Wrap dress

I realise now that I've never posted the final result of the silk wrap dress and decided it's time I rectified that.

It was a beautiful project and I still enjoy wearing the dress, years later. The delicate silk and satin  fabric has held strong after many wears and washes. Below is a little snapshot from a morning out with me wearing it.

23 March 2015

new project! Silk wrap dress

Well, I have moved on from the previous project, having completed them in record time ! WOW - I'm so amazed with that. The jacket came out fabulous and the skirt also very nice. The color is really nice, having washed out the Gelatin from the skirt fabric. I can see that the red color is so much brighter now.

Anyway, moving on. I'm already halfway with the next project. The fabric was originally purchased to make a strappy evening dress with, but I decided to make a easy peasy wrap dress instead. So here we are so far.


I did the little short sleeves late last night so now only have to sort out the seam at the bottom. The seam looks a bit willy wonky to me so will have to straighten that out before doing the seam.
I just looooove the fabric - it's a wonderful shiny soft silky fabric. Perfect for a wrap dress!